A Brief, Practical Introduction to Custom Fonts in SwiftUI
Posted by on April 08, 2024 1:49pm
We love Apple's system fonts but sometimes one wants to spread their wings and fly free. Here's a simple guide to using a custom font in your SwiftUI project.
Demo Project
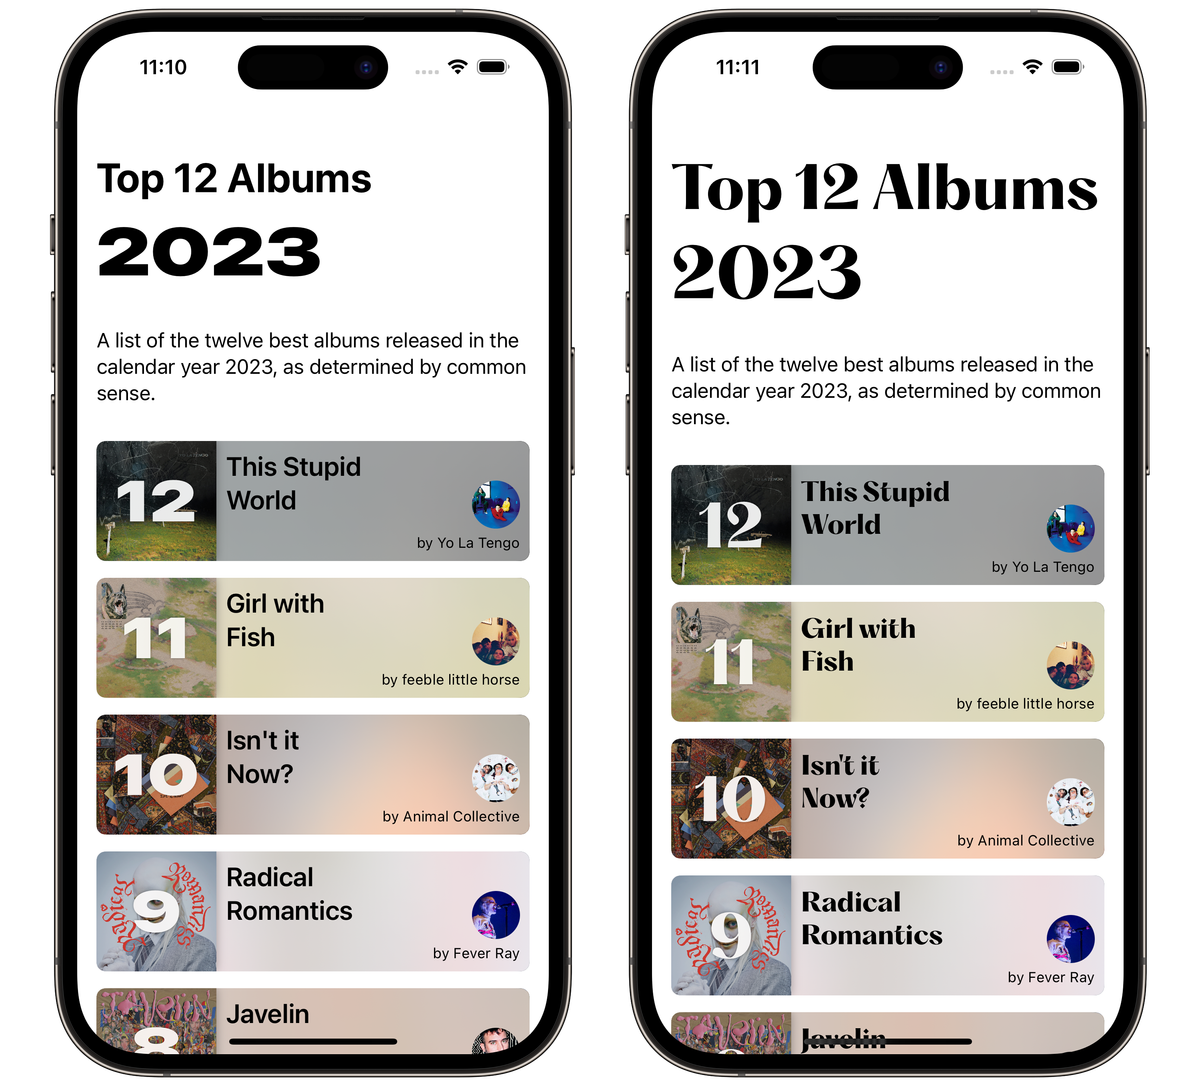
Behold the best albums of last year, objectively. (Project available on my GitHub.)

I'm pretty happy with the layout above. Let's see if we can mess it up a little!
Get a Font
First you need a font file ("cool-font.ttf", "cool-font.otf", etc.). For the purposes of this demo project I'll be using Hatton Bold from the wonderful Pangram Pangram type foundry.
Put the Font in Xcode
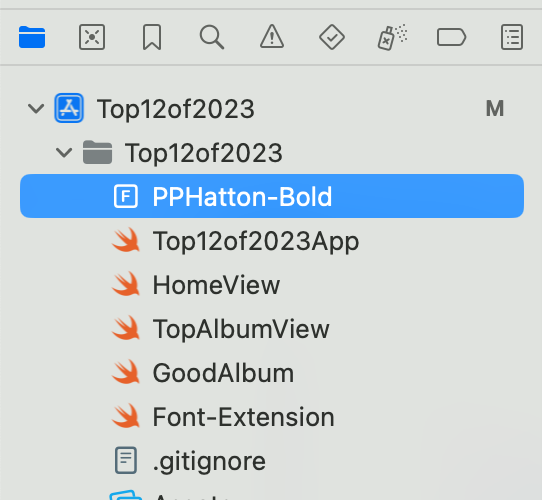
Import the font file into your project. (Just drag it in.)

When importing you may be asked if you want to add this file to your app target(s). You do.
You will also need to specify the font in your info.plist. Add the key "Fonts provided by application" and make the first value the name of your font file including its file extension.

Put the Font in a View
To apply this font to a view we just need to use the .font modifier and the Font.custom(_:size:) method, specifying the name of our font without its file extension.
Text("2023")
  .font(.custom("PPHatton-Bold", size: 56))
Put the Font in the Navigation Bar
Applying it to the Navigation Title means we have to interact with a UIKit class, UINavigationBar, at least for now. (I expect a more SwiftUI-ish way to come about at some point.)
.largeTitle and .inline modes are set separately. In our .onAppear block we'll create two fonts and apply them.
struct HomeView: View {
    @State private var top12: [GoodAlbum] = GoodAlbum.top12of2023

    var body: some View {
        NavigationStack {
            VStack {
                // Cool stuff...
            }
            .navigationTitle("Top 12 Albums")
            .onAppear {
                let customLargeTitle = UIFont(name: "PPHatton-Bold", size: 48)!
                UINavigationBar.appearance().largeTitleTextAttributes = [.font: customLargeTitle]

                let customInline = UIFont(name: "PPHatton-Bold", size: 20)!
                UINavigationBar.appearance().titleTextAttributes = [.font: customInline]
            }
        }
    }
}
If force-unwrapping these UIFonts is wrong, I don't wanna be right.
There are plenty of other properties you can change in these text attributes dictionaries, including things like tracking and kerning. Worth poking around.

Make it Nicer
If you're like me you're going to change your mind on the font about 50 times. Let's create a quick Font extension so that we only have to write/overwrite the font name in one place.
extension Font {
    static func displayFont(ofSize size: CGFloat) -> Font {
        return Font.custom("PPHatton-Bold", size: size)
    }
}
